Connecting GigaChat
This guide explains how to configure GigaChat as an AI provider for TG Support Bot.
You can select only one provider for the AI Assistant.
TIP
Before proceeding, make sure the AI assistant is enabled by following the base integration guide.
Obtaining the API key
- Log in to your GigaChat account.
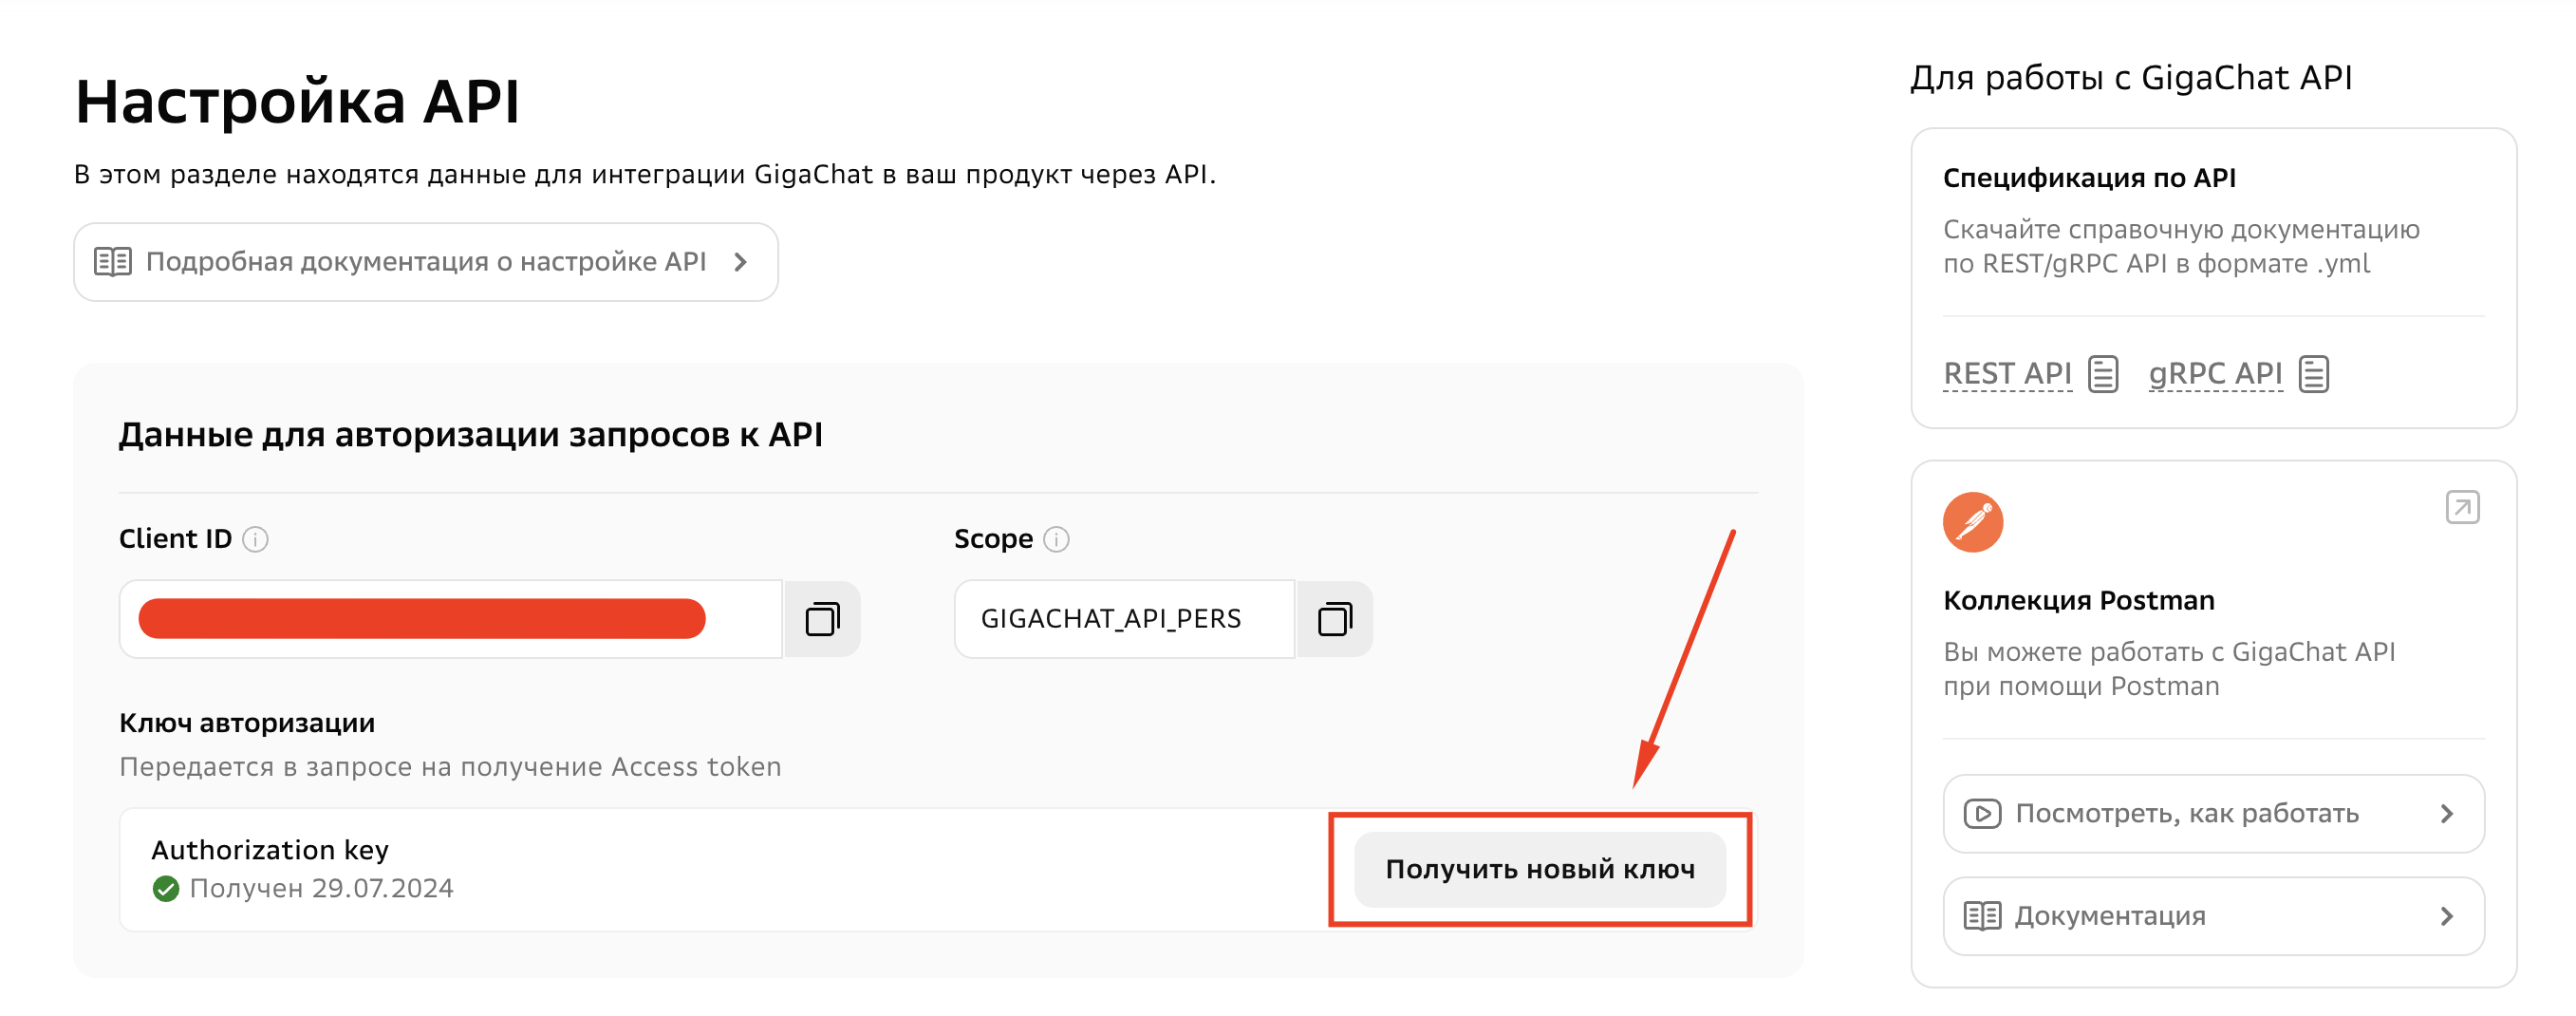
- Navigate to the API Settings section.
- Copy the Client ID and Authorization key — you will need them in the next step.
Obtaining the Ministry of Digital Development Certificate
Requests to GigaChat require a security certificate issued by the Russian Ministry of Digital Development. Follow the instructions in the official documentation: GigaChat Certificates.
Once downloaded, place the .crt file in the storage/certs directory.
Connecting the provider
Go to the "AI Assistant" section and click the GigaChat card.
Fill in the form:
- Client ID
- Client Secret
- Provider Base URL
- Model
- Max response tokens
- Temperature
- Certificate (CA)